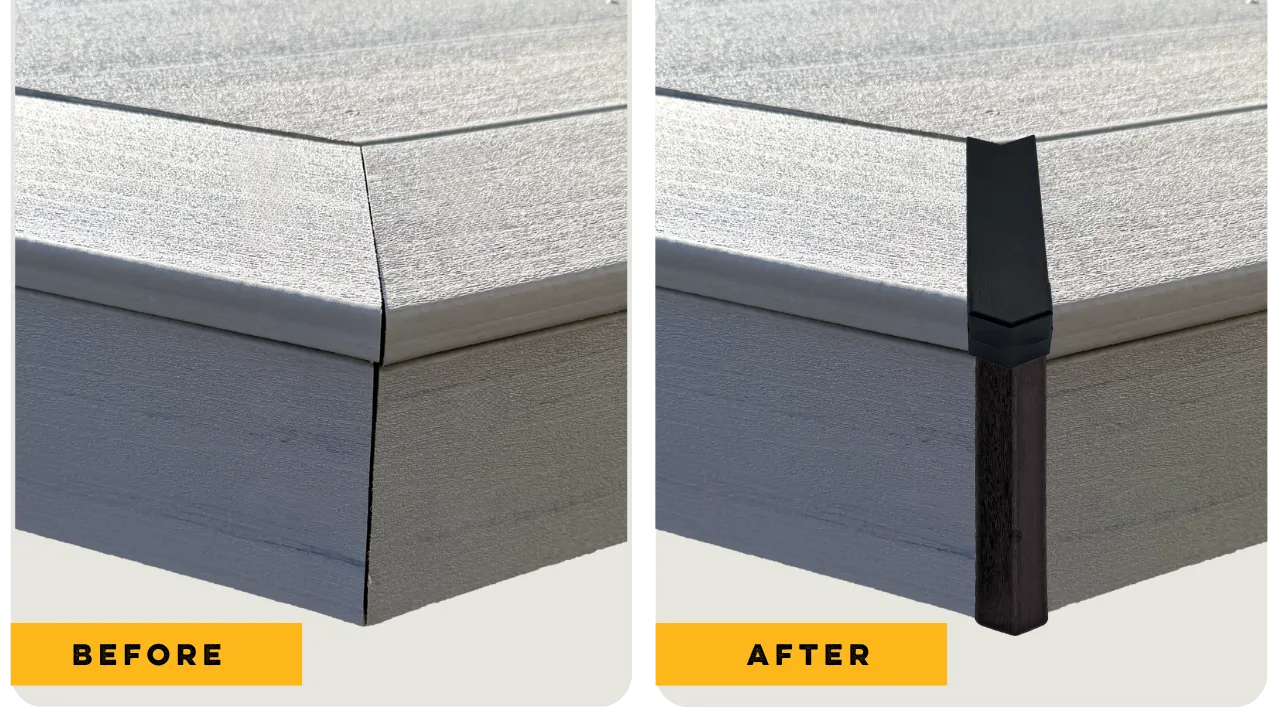
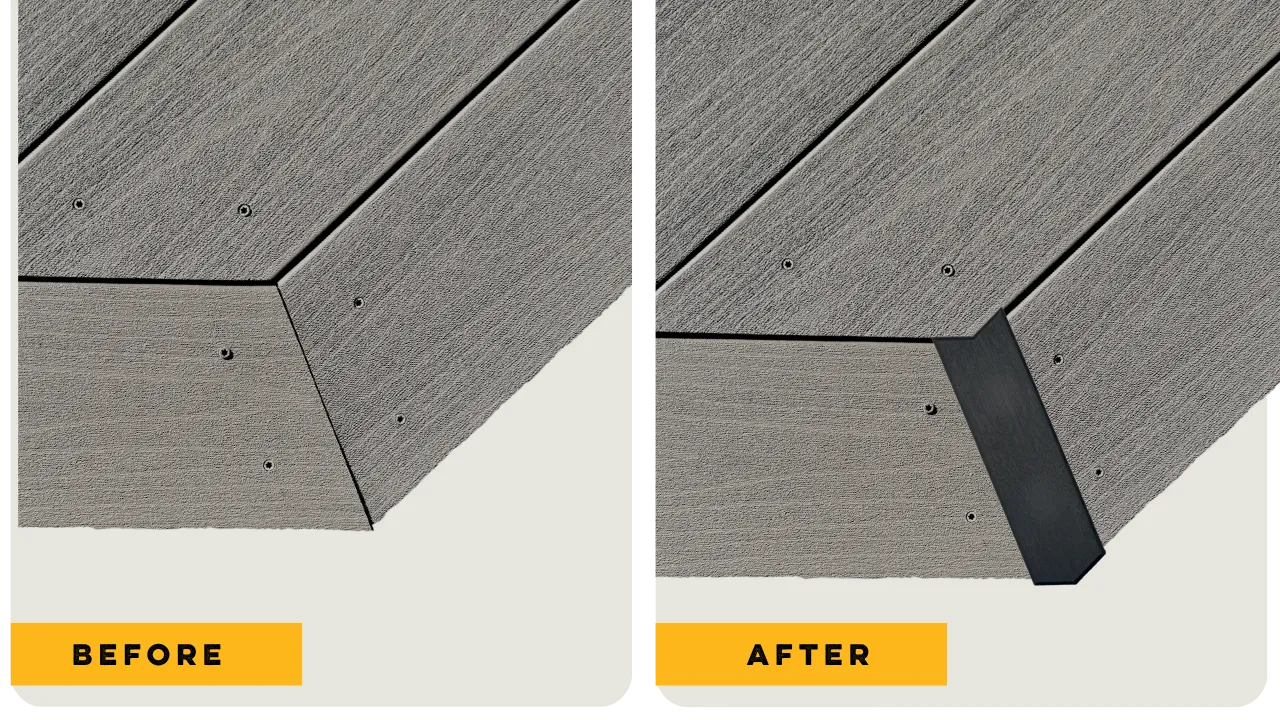
Fixing Corner Gaps on an Existing Deck
The question we hear most: "My deck is already built and the corners are opening — do I have to tear it apart?" No. Here's how a retrofit actually works.
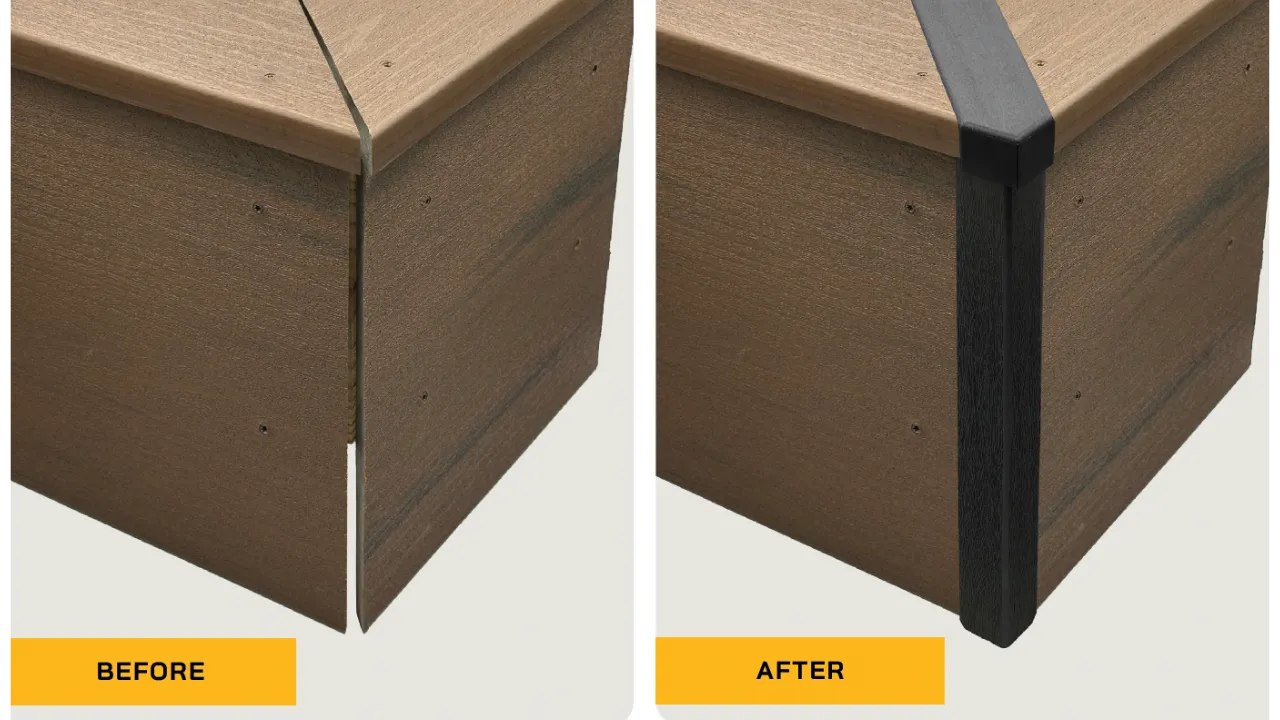
You do not have to rebuild your deck to fix opening corners. Because GAPCAP installs over the corner, you can retrofit a deck you already have — no board replacement, no re-cutting the whole miter. There's one extra step compared to a new build: you open up a channel at the miter — about 3/8" wider than the cap's underside channel — so the cap seats and the boards still have room to move.
Why a retrofit needs one extra step
On a new build, you can plan the corner around the cap. On an existing deck, the mitered corner is already cut tight — there simply isn't room for the cap to drop in. So before the cap goes on, you cut out a channel at the miter, using a multi-tool (or something similar). Make the channel about 3/8" wider than the cap's underside channel — that extra room lets the boards keep expanding and contracting freely under the cap. It's a small, contained cut, not a rebuild.
The retrofit, step by step
- 1. Cut the channel. With a multi-tool or similar, open up a channel at the tight mitered corner about 3/8" wider than the cap's underside channel, so the cap fits and the boards can still expand and contract freely.
- 2. Seat the cap. Fit the GAPCAP over the miter — it seats fast once the channel is opened up.
- 3. Fasten to the framing. Drive standard composite decking screws through the cap into the framing underneath.
- 4. Finish. Install the included plugs for a clean, screwless look.
What you get
Once it's in, the boards underneath are still free to expand and contract — the gap just isn't visible anymore, and it stays that way through the seasons. No tear-out, no replacing good boards, and no more corner that reopens every winter. For contractors, it also means a fast, repeatable fix for the callback where a customer's corners have started to open.
Frequently asked questions
No. GAPCAP™ works on existing decks. Because the cap installs over the corner, you don't need to rebuild, replace boards, or re-cut the whole miter.
An existing mitered corner is cut tight, so there isn't room for the cap to seat. You open up a channel at the miter — about 3/8" wider than the cap's underside channel — with a multi-tool or similar so the GAPCAP™ fits into place and the boards can still expand and contract freely, then fasten it to the framing underneath.
Standard composite decking screws, driven into the framing underneath. GAPCAP™ includes plugs so you can achieve a clean, screwless finish.